
Now, let's imagine that there is an issue involving the Wait List...
Once you have taken the Screenshot by pressing Alt-PrintScrn, you have three options. You can paste the image into a document editing program, such as Microsoft™ Word, you can open an image editing program such as Microsoft™ Paint, or you can paste the image directly into Microsoft Outlook (not Outlook Express):

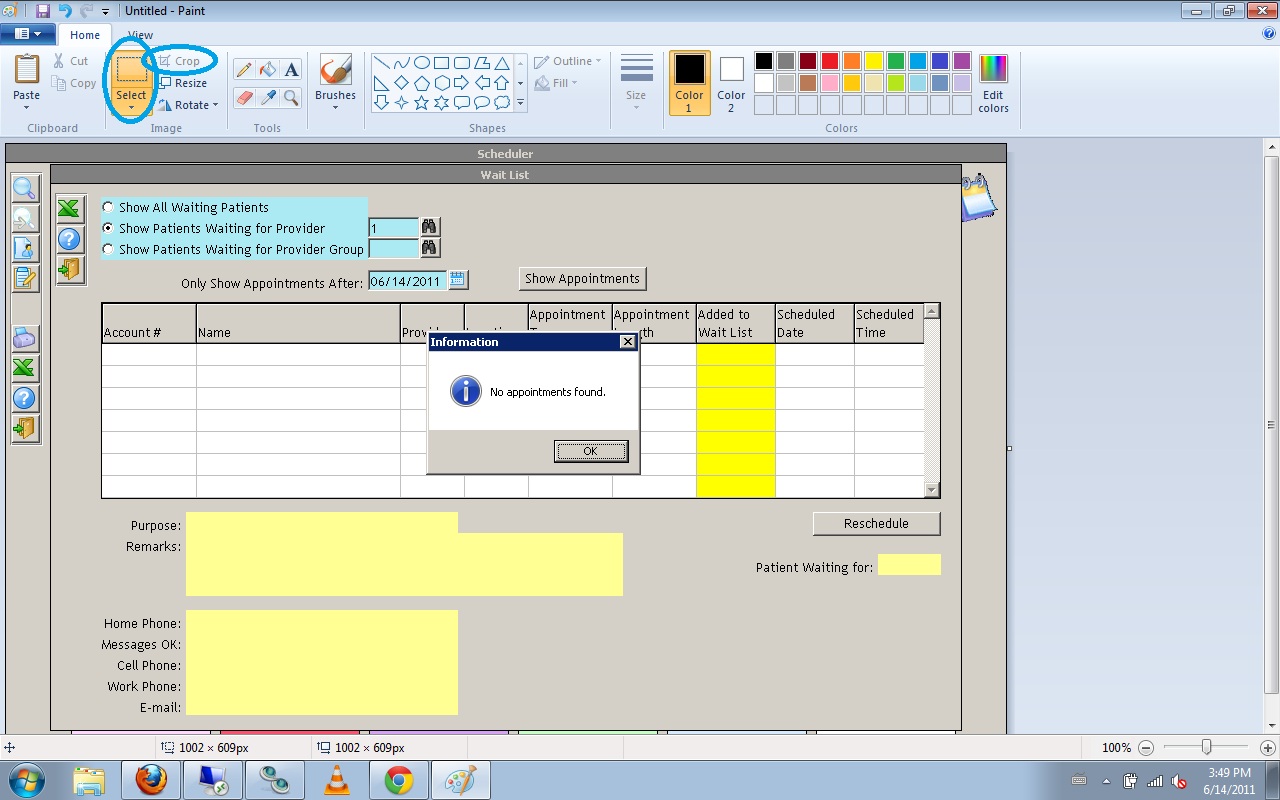
This is the Windows ™ 7 version of Microsoft™ Paint, which might look very different from your version. However, the basic functions will be the same. Once you have the program open, all you need to do is press Ctrl+V to paste in the image you copied to your clipboard using the Print Screen button:

Notice that in the image editing software, you now have an image that includes your desktop icons and the task bar below. At this point, you will have to use the Select and Crop tools to choose the part of the image you want to save and to get rid of the rest of the image. After using those tools, you will only have the part of the image that you need:
You now have the option to add any other touches to the image you want. For instance, if you want to point out using text the part of the image you want noticed, you could use the Text Box button and write:

Now, you simply save the file as a JPEG, a common format for images, and e-mail it as an attachment to your Client Support provider or guidev@practice-alt.com. Make sure to include details about the image, and what your question or comment pertains to in the picture itself. At this point, the matter is out of your hands, until you receive an answer from Client Support.
Later the same day, or perhaps early the next day, you get an e-mail answering your question.
"Try changing the options at the top of the screen. Notice that there is a set of options which is currently set to Show Patients Waiting for Provider with a specific Provider chosen. Change it to the top option instead, Show All Waiting Patients, and you'll likely see the patients on the Wait List as you expected:

If this doesn't clear up the issue, please respond and further steps will be taken. Thank you!"
As you can see, the fact that you sent a screenshot cleared the matter up very quickly. Rather than having to look around in your system to see what might be going wrong, Client Support saw right away that it was possible that a single click might reveal to you the appointments you were trying to find.
One final point on the issue of screenshots relates back to the beginning of this post, and the Alt key on the keyboard. By pressing Alt+Print Screen, you can copy only the "active window" or the part of your screen which is where you last clicked with your mouse. Here is are two images, taken from the same screen, with different results because of the use of Alt+Print Screen:
1. Using just the Print Screen button:

2. Using Alt+Print Screen with the Information window as the "active" window:

In other situations, you can also use Alt+Print Screen with the entire Rexpert Session as the "active" window:

This prevents it from being necessary for you to actually edit the image or e-mail it. Just press Alt+ Print Scrn and check the "Include screenshot (taken with Alt-PrintScrn)" box on the Client Feedback screen:

Just hit send and your feedback is on its way!
1 comment:
Thank you a bunch for sharing this with all of us you actually realize what you are talking about! Bookmarked. Please also seek advice from my site =). We could have a hyperlink change contract between us! this
Post a Comment