Hello everyone, the GVT team is back with another helpful piece of information. Today we will be showing you how to change a patient's information without closing the current screen.
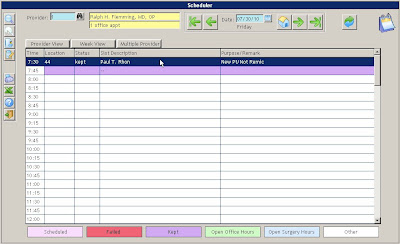
First, open up the Scheduler and make a new appointment:
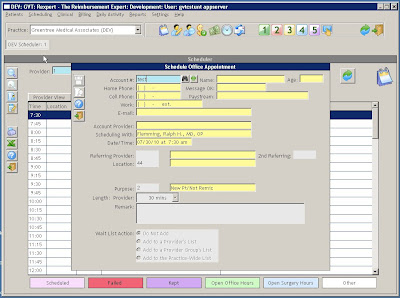 (Click any image to enlarge.)
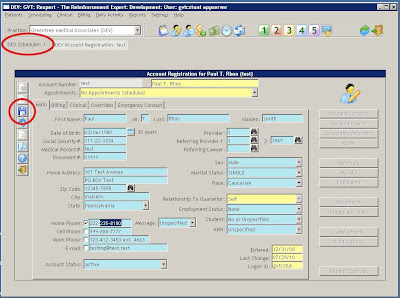
Now enter in the patient's Account Number. This will bring up the account information:
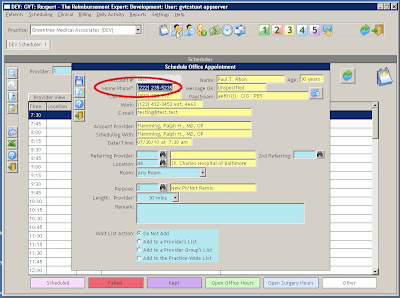
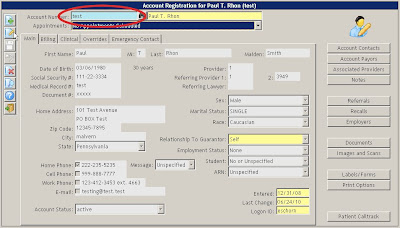
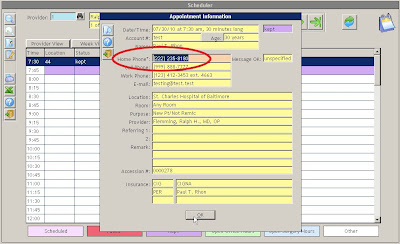
You look at the patient's home phone number, and realize that it's not correct. Instead of closing out of the window, finish making the appointment and save it. Now, open up the Account Registration screen, without closing the Scheduler. The account number will already be entered, so just press Tab or Enter:
Now, press the Edit button and change the information, phone number in this example, to the correct values:
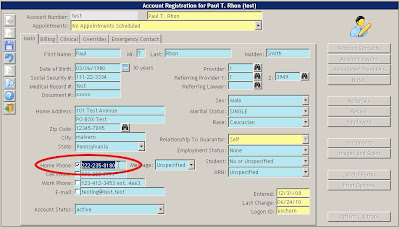
After the incorrect values have been changed to the correct ones, save the changes and go back to the Scheduler:
The appointment should still be there. Now, open up the scheduled appointment, and the information will be changed:
Using this method should save some time because you won't have to close and open windows multiple times to check the information is correct.


